¶ Custom Setting
¶ Custom Setting Tab
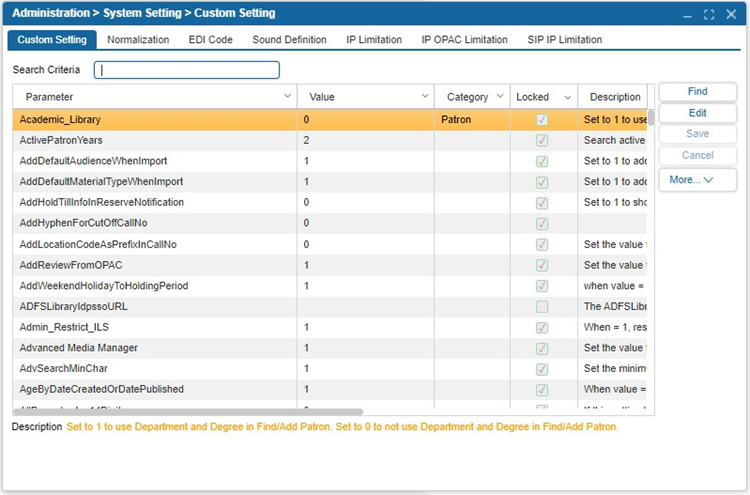
The Custom Setting feature is only available when logged in with Admin All. This window allows various windows to be customized (enabled or disabled) based on the library’s needs. Descriptions of the Custom Settings are provided at the lower of the window when the setting is selected.
- Navigate to Administration > System Setting > Custom Setting.
- Enter a keyword into the Search Criteria to locate a custom setting.
- Select Edit.
- Select into the Value column to set the value. The description will inform you of the number to enter to set the setting a certain way. (For example, Set the value to 1 to enable items to be renewed from the OPAC. Set the value to 0 to disable renewal from OPAC.)
- Select the Locked checkbox for a custom setting if you do not want updates to affect the setting.
- Select Save.
Note: These settings apply to all libraries in the ILS, meaning changes will impact all sites.
TIP: When a patron group is assigned the permission Administration > Security > Other > Admin, they gain access to all Super Admin privileges. This includes the ability to create patron groups and edit custom settings, without losing any existing permissions (e.g., creating orders in acquisitions) or gaining unrelated functionality (e.g., assigned modules/features remain unchanged).
¶ Normalization
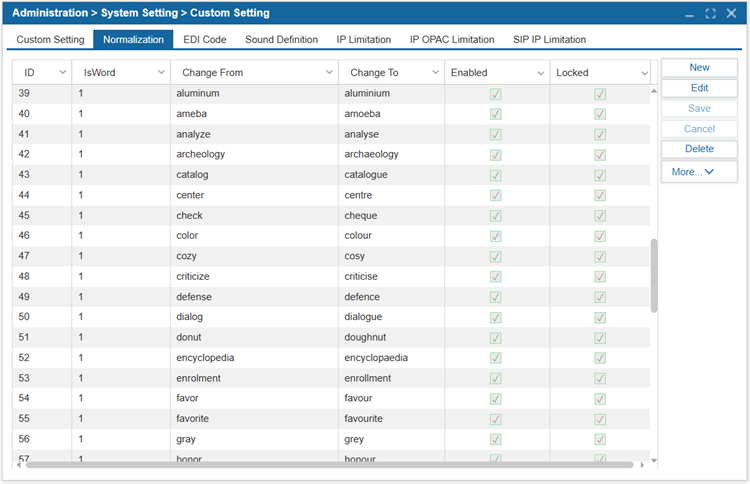
The Normalization feature allows automatic modification of specific characters and words when searching in the OPAC. This ensures consistency by standardizing spelling variations and replacing special characters.
- Navigate to Administration > System Setting > Custom Setting.
- Select the Normalization tab.
- Click New.
- Set IsWord to:
- 1 if the change applies only when the entire word matches.
- 0 if the change applies to characters that are part of a word.
- Enter the word or character to be replaced in the Change From column.
- Enter the desired replacement in the Change To column.
- Check the Enabled box to activate the rule.
- Check the Locked box if you want to prevent system updates from modifying the rule.
- Select Save to apply the changes.
¶ EDI Code
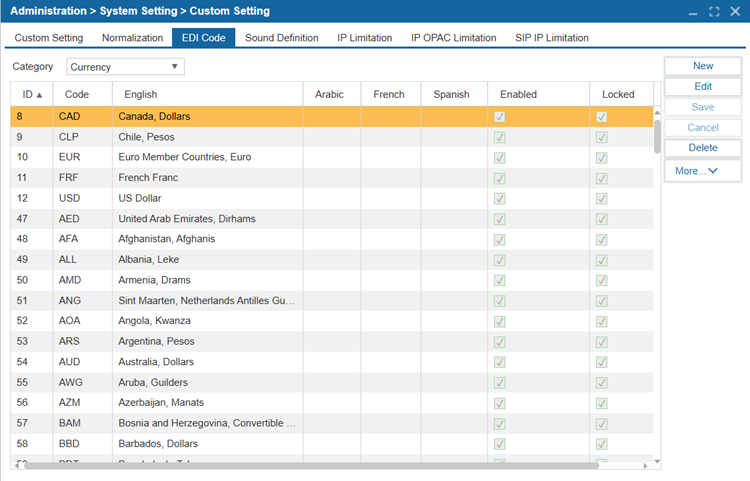
The Electronic Data Interchange (EDI) Code feature configures the communication between the ILS and the vendors’ servers when conducting electronic ordering directly through Insignia.
- Navigate to Administration > System Setting > Custom Setting.
- Select the EDI Code tab.
- Select from the Category dropdown menu.
- Select Edit.
- Select the space for which you want to change the value.
- Select the Enabled checkbox to enable the corresponding setting or uncheck to disable it.
- Select Save.
¶ Sound Definition
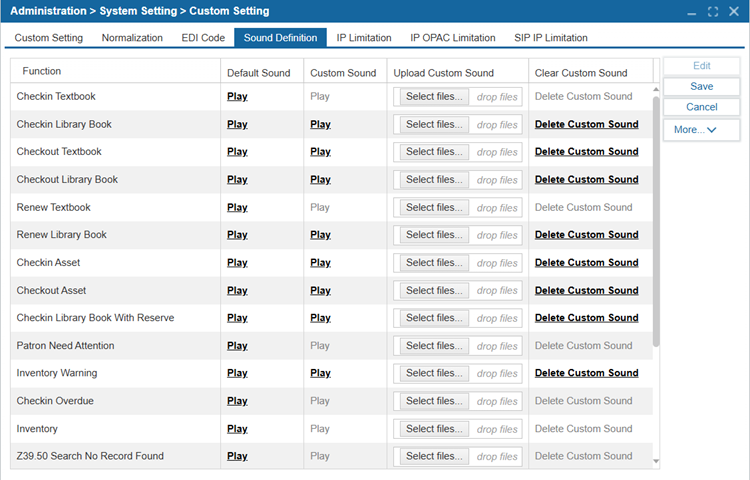
The Sound Definition tab allows the user logged in to the Admin All account to customize the sounds played for actions in Insignia.
- Navigate to Administration > System Setting > Custom Setting.
- Select the Sound Definition tab.
- Select Edit.
- To hear a sound, select Play if it is available.
- To add a custom sound, click Select files… and choose a sound file from your computer. The sound file must be in .mp3 format.
- Alternatively, you can drag and drop the file from your computer into the drop files area which corresponds to the sound being customized.
- To listen to the custom sound you uploaded, select Play under the Custom Sound column.
- To delete a custom sound, select Delete Custom Sound.
- Select Save.
¶ IP Limitation
The IP Limitation feature allows administrators to restrict access to the ILS based on IP address ranges. This ensures that only authorized users within a specified IP range can access the system.
NOTE: The Custom Setting Admin_Restrict_ILS setting controls access for AdminAll and Admin#### accounts based on predefined IP address ranges.
NOTE: If a patron group has the "Restrict ILS" setting enabled, users in that group will also be restricted according to the configured IP settings.