¶ Social Media Integration in the Discovery Layer
Users can create templates and embed content from supported social media platforms directly into the Discovery Layer. They can also integrate feeds or widgets from the following social media platforms to enhance engagement and visibility:
- Flickr
Begin by Creating a Template to add the information from the specific Social Media Sites.
¶ Creating a Template
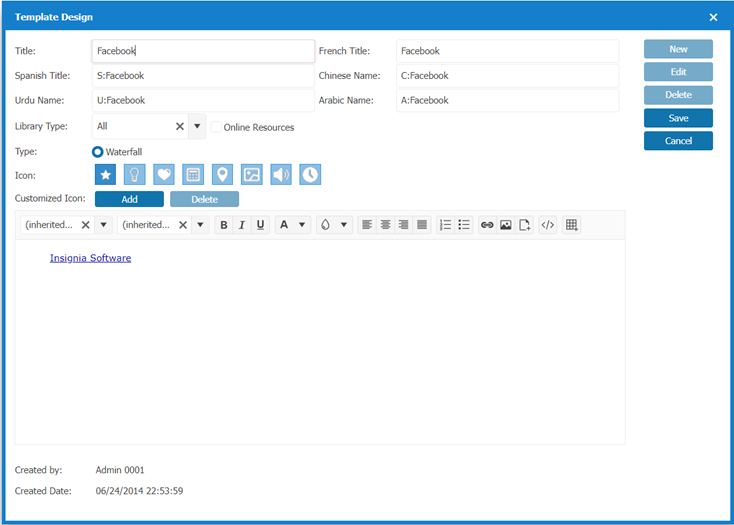
To add embedded social media to your OPAC, begin by creating a template:
- In Discovery Layer Manager > Content, select Template.
- Select New.
- Enter a Title for your Template (e.g. “Facebook" or "Follow us on X!”)
- Select Save.
¶ X
- Navigate to X’s Widget Builder: https://publish.twitter.com/.
- Enter your Twitter handle (e.g., @YourLibraryHandle).
- Configure the Widget:
3.1. Width: Set the width to 220px for left/right banners or 500px for the middle (home content) section of the OPAC.
3.2. Height: Adjust the height based on how much space you want the feed to occupy. - Generate the Embed Code:
- Once you’ve configured the widget, Twitter will provide an embed code. Copy this code.
- Add the Widget to the OPAC:
- Save the template and add it to the Home Page layout using the Add Widget feature.
- Paste the code you copied from X into the View HTML window.
- Select Update.
- Select Save and close the Design Window.
- Select Design > Home Page. Choose the Home Page and double Select on it or Select Detail.
- Select Add. From the Add Widget pop up window, Select the X Template you created.
- Enter Width, Customize Height(pixels), and Child fields.
- The Child feature allows Widgets to be tied together when moving the Widget placement on the Home Page. Any changes to the Width will apply to all Widgets in the Child group.
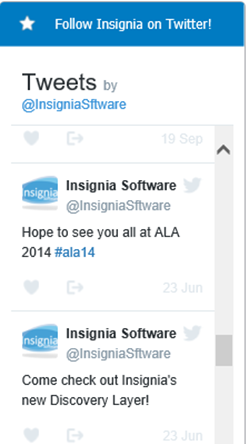
- Select Add to start or Add to end.
- Select Save. Your X feed will now be visible on your home page.
- Navigate to https://developers.facebook.com/docs/plugins/page-plugin
- Enter your Facebook page URL (e.g. https://www.facebook.com/InsigniaSoftwareInc).
- Follow the steps to create a Page Plugin.
- When selecting a width for your timeline, enter 220px for the left and right banners and 500px if you want to display the timeline in the middle (home content) section of the OPAC.
4.1. The Facebook Page Plugin will display best in the Home Content section.
4.2. Height is dependent on how much space you want the feed to take up.
4.3. Facebook offers two forms of code (JavaScript SDK, and iFrame), both of which work in the Discovery Layer. If you choose the JavaScript SDK option, you must copy both sections of code. You may want to paste these one after the other into Notepad until you are ready to use it. - Once you are finished personalizing your plugin, copy the code Facebook provides.
- Refer to Creating a Template at the beginning of the Social Media Integration Guide to create a Template to add this information into.
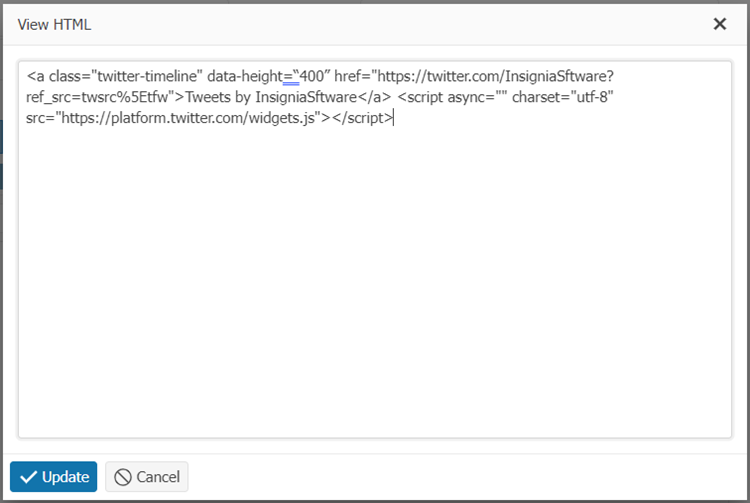
- Select the View HTML [</>] button.
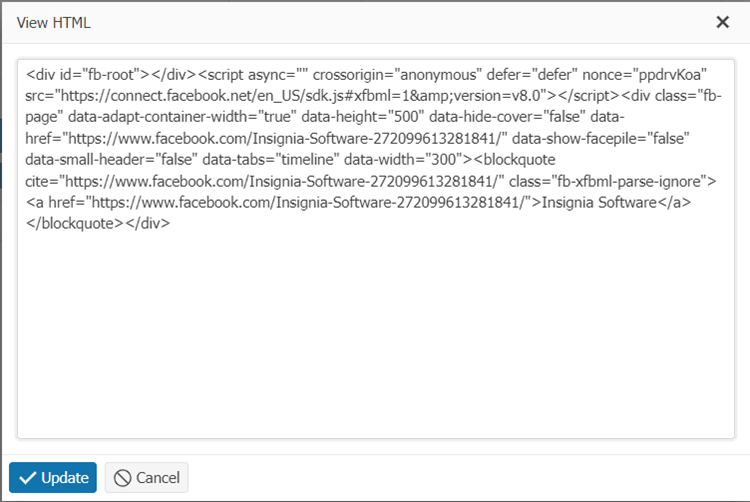
- Paste the code you copied from Facebook into the View HTML window.
- Select Update.
- Select Save and close the Design Window.
- Select Design > Home Page. Choose the Home Page and double Select on it or Select Detail.
- Select Add. From the Add Widget pop up window, Select the Facebook Template you created.
- Enter Width, Customize Height(pixels), and Child fields.
- The Child feature allows Widgets to be tied together when moving the Widget placement on the Home Page. Any changes to the Width will apply to all Widgets in the Child group.
- Select Add to start or Add to end.
- Select Save. Your Facebook Page’s feed will now be visible on your Home Page.

¶ Flickr
Flickr no longer offers official tools for adding a Widget to your website. You will need to use a 3rd party to build a Widget. We recommend using Flickr Slideshow or Flickr Badge.
- Navigate to http://www.flickrslideshow.com/.
- Enter the URL of the Flickr Album you want to showcase.
- Follow the steps to create a Flickr Widget.
- When selecting a width for your widget, enter 220px for the left and right banners and 500px if you want to display the timeline in the middle (home content) section of the OPAC.
- Height is dependent on how much space you want the feed to take up.
- Once you are finished personalizing your Widget, Copy the Code the website provides.
- Refer to Creating a Template at the beginning of the Social Media Integration Guide to create a Template to add this information into.
- Select the View HTML [</>] button
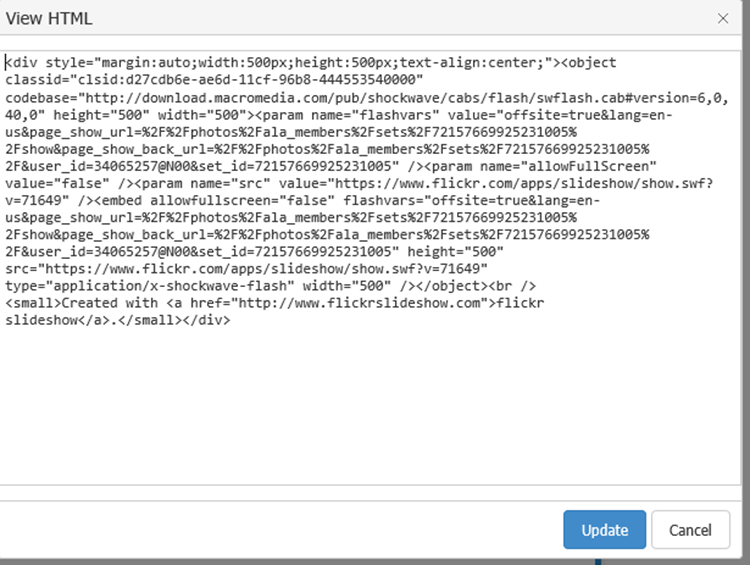
- Paste the Code you copied from the website into the View HTML window.
- Select Update.
- Select Save and close the Design Window.
- Select Design>Home Page. Choose the Home Page and double Select on it or Select Detail.
- Select Add. From the Add Widget pop up window, Select the Flickr Template you created.
- Enter Width, Customize Height(pixels), and Child fields.
- The Child feature allows Widgets to be tied together when moving the Widget placement on the Home Page. Any changes to the Width will apply to all Widgets in the Child group.
- Select Add to start or Add to end.
- Select Save. Your Flickr Album will now be visible on your Home Page.

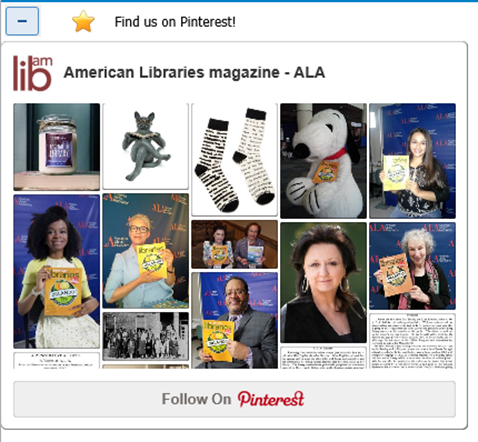
- Navigate to https://developers.pinterest.com/tools/widget-builder/.
- Enter your Pinterest URL.
- Follow the steps to create an Embedded Pinterest Widget.
3.1. When selecting a size for your Widget, choose one with a width of 200px or smaller for the left and right banners and 500px or smaller if you want to display the widget in the middle (home content) section of the OPAC.
3.2. Height is dependent on how much space you want the widget to take up. - Once you are finished personalizing your Widget, copy the code Pinterest provides.
- Refer to Creating a Template at the beginning of the Social Media Integration Guide to create a Template to add this information into.
- Select the View HTML [</>] button.
- Paste the code you copied from Pinterest into the View HTML window.

- Select Update.
- Select Save and close the Design Window.
- Select Design > Home Page. Choose the Home Page and double Select on it or Select 11. Paste the code you copied from Pinterest into the View HTML window.
- Select Update.
- Select Save and close the Design Window.
- Select Design > Home Page. Choose the Home Page and double Select on it or Select Detail.
- Select Add. From the Add Widget pop up window, Select the Pinterest Template you created.
- Enter Width, Customize Height(pixels), and Child fields.
16.1. The Child feature allows Widgets to be tied together when moving the Widget placement on the Home Page. Any changes to the Width will apply to all Widgets in the Child group. - Select Add to start or Add to end.
- Select Save. Your Pinterest feed will now be visible on your Home Page.
- Select Add. From the Add Widget pop up window, Select the Pinterest Template you created.
- Enter Width, Customize Height(pixels), and Child fields.
20.1. The Child feature allows Widgets to be tied together when moving the Widget placement on the Home Page. Any changes to the Width will apply to all Widgets in the Child group. - Select Add to start or Add to end.
- Select Save. Your Pinterest feed will now be visible on your Home Page.
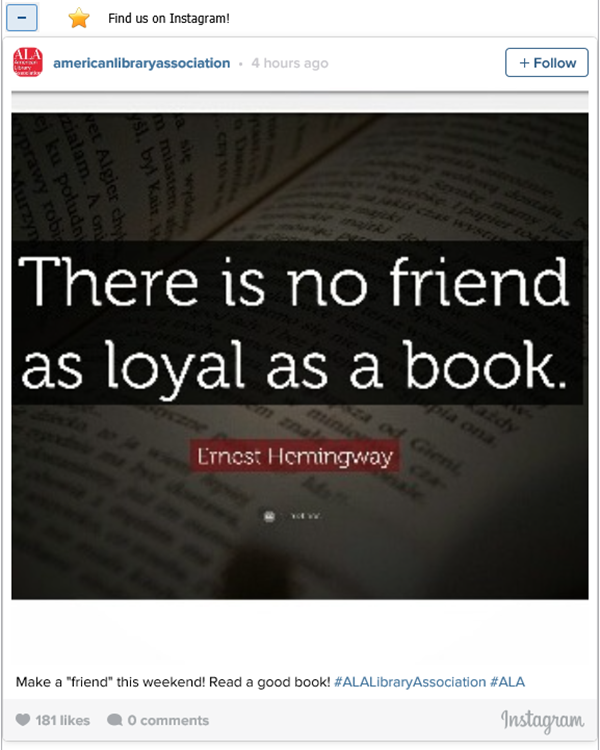
- Navigate to your Instagram Page (e.g. https://www.instagram.com/americanlibraryassociation).
- Select to expand the first photo on your Timeline.
- Select the … button in the bottom right-hand corner.
- Select Embed.
- Copy the Code Instagram provides.
- Refer to Creating a Template at the beginning of the Social Media Integration Guide to create a Template to add this information into.
- Select the View HTML [</>] button.
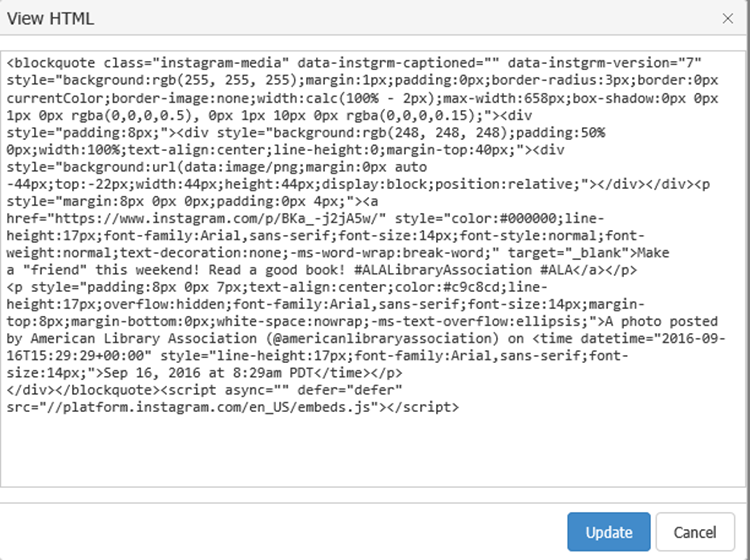
- Paste the code you copied from Instagram into the View HTML window.
- Select Update.
- Select Save and close the Design Window.
- Select Design > Home Page. Choose the Home Page and double Select on it or Select Detail.
- Select Add. From the Add Widget pop up window, Select the Instagram Template you created.
- Enter Width, Customize Height(pixels), and Child fields.
13.1. The Child feature allows Widgets to be tied together when moving the Widget placement on the Home Page. Any changes to the Width will apply to all Widgets in the Child group. - Select Add to start or Add to end.
- Select Save. Your Instagram feed will now be visible on your Home Page.