¶ System Message
Insignia Library System allows users to customize messages sent to Patrons.
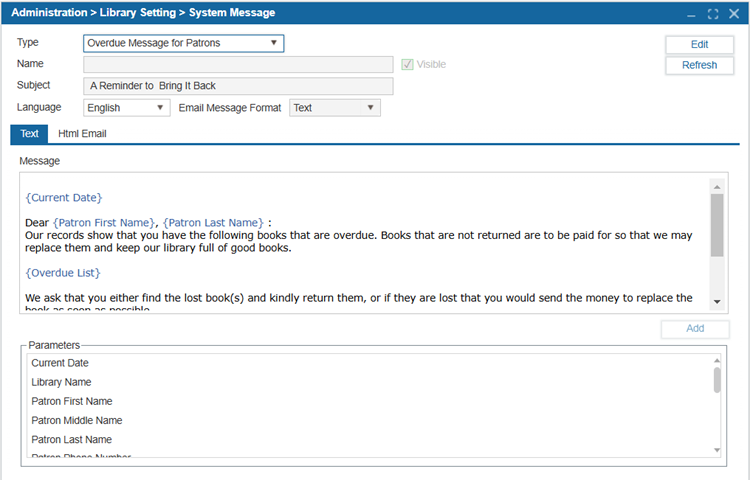
- Navigate to Administration > Library Setting > System Message.
- Use the dropdown to select the message Type from the dropdown list.
- Select Edit.
- Enter or modify the Name and Subject fields:
4.1. Name: This name is used internally and appears in reports to help users identify the message.
4.2. Subject: The email subject line that patrons will see when they receive the message. - Choose the appropriate email format:
5.1. Select the Text tab for plain text emails.
5.2. Select the HTML tab for formatted emails, allowing rich text, links, and styling. - Add, remove, or move Parameters which will autofill with information relevant to the specific patron.
6.1. You can add a parameter by placing the cursor where the parameter is to appear.
6.2. Select the variable from the Parameters list.
6.3. Select Add. - Enter additional text or edit the message as needed.
- Ensure that the Visible checkbox is selected. This will make this message visible in other windows if there is a system message dropdown list available.
- Select Save.
Note: Users can set up many of the automated system messages in Administration > Library Setting > System Message, which can then be configured under Administration > Library Setting > Configuration > Automation to define when these messages are sent.
TIP: To enable Automatic email notification for overdue books with attached book covers, you'll need to edit the system message to utilize HTML format for notifications. Also make sure to enable the custom setting ‘IncludeCoverImageInNotificationMessage’.
NOTE: A Custom Setting called ‘RemoveReplacementCostfromMessage’ is available, setting it to 1 will hide the Replacement Cost from the Pre-Overdue/Overdue Messages.
NOTE: The ability to add cover images to email notifications is now available. This can be enabled using the custom setting ‘IncludeCoverImageInNotificationMessage’.